
Announcing Kiosks
Assetbots Team
We’re very excited to announce that our kiosk feature is now generally available. This is a big steppingstone on the way to Reservations, which many of you are clamoring for.
Kiosks allow you to set up a portal that enables checking in and checking out equipment in a simplified interface, without access to any other parts of your Assetbots database. You can restrict which assets and/or people are available to the kiosk, as well as specify whether the kiosk requires confirmation signatures immediately or by email.
Create as many kiosks as you like for any purpose that suits your organization. Here is how it works:
- Create a kiosk
- Review kiosk details
- Launch your kiosk
- Checkout assets
- Check in assets
- Get help and support
Create a Kiosk
Navigate to the Kiosks tab under Assets and click Add Kiosk, or use the keyboard shortcut Shift+K. Give your kiosk a name (for example, Warehouse Kiosk) and decide if you want to select or define search filters that restrict which assets and/or people are available to the kiosk. Finally, select whether you want to collect signatures.
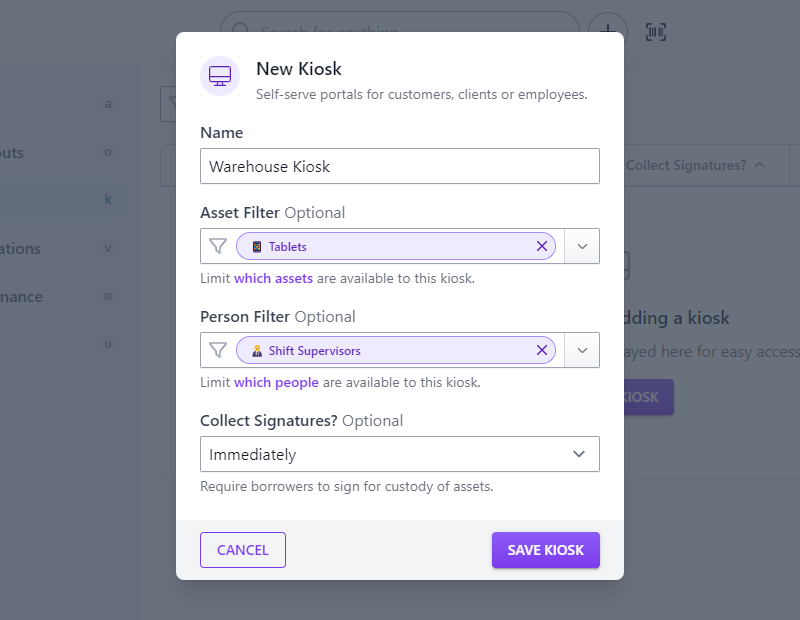
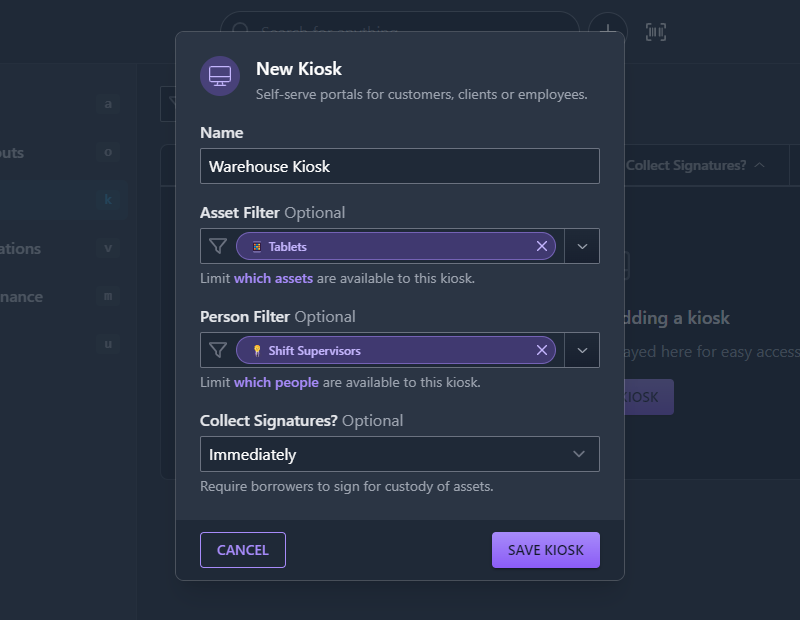
The name you enter for your kiosk will be displayed in activity reports and timelines for actions performed on this kiosk, so it is important to choose something meaningful.
Review Kiosk Details
When you click into a kiosk’s detail view, you’ll see a simple overview of the kiosk and its recent activity. There are a few neat things to note about this view:
- Changes to any of the details (for example, filters or signature requirements) will take effect immediately on all launched instances of the kiosk. You do not need to refresh anything to load the new settings.
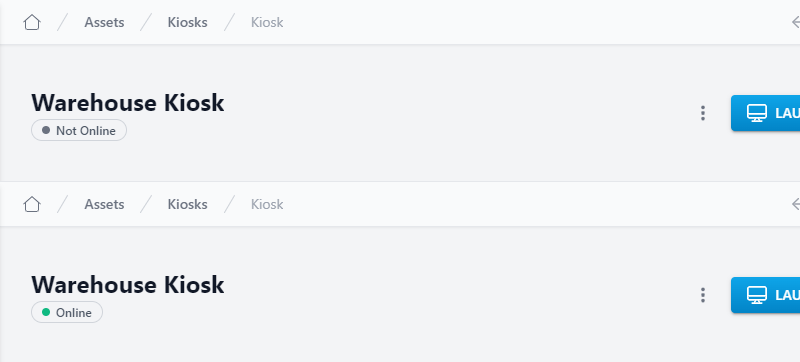
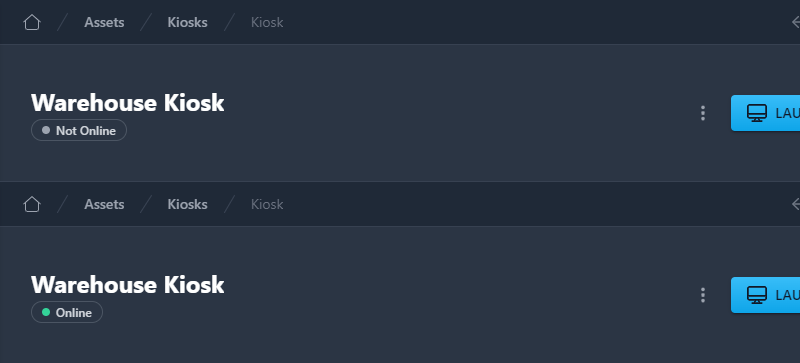
- There is an indicator in the header that tells you whether any instances of this kiosk are online in real-time. This indicator is also available as a field in the kiosk list view and can be filtered and sorted on.
- Archiving or deleting a kiosk causes any launched instances of the kiosk to be disconnected immediately. Users will not be able to access the kiosk again unless you unarchive or undelete it.
If you noticed above, we used the term launched instance. A launched instance is what we call a kiosk that is running on a device (e.g., a computer, tablet or phone). This is different than the kiosk definition, which is what we’ve been focused on so far. Each kiosk (or kiosk definition) can have an unlimited number of launched instances.
Launch Your Kiosk
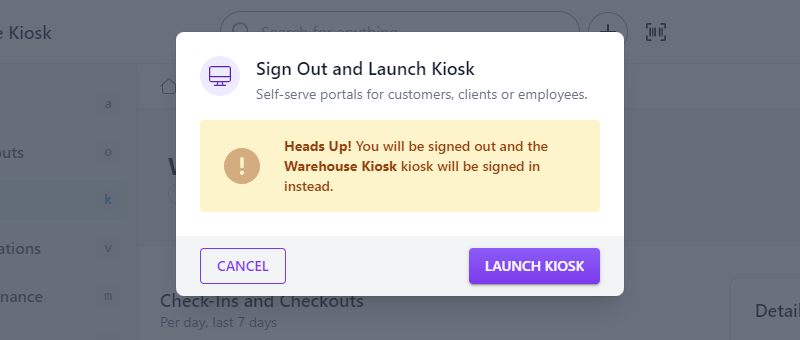
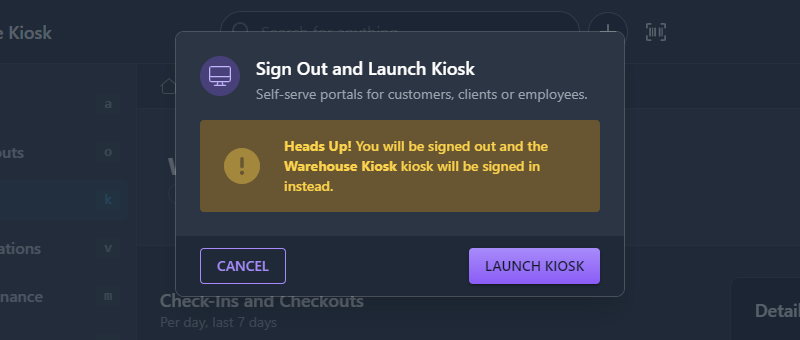
Finally, launch your kiosk on a device. The easiest way to do this is to log into your Assetbots database on the target device, navigate to the kiosk definition and click Launch.
You will receive a warning that you are about to be signed out. This is important: the kiosk has limited access to your database (equivalent to the Borrower permission level). To prevent kiosk users from being able to impersonate your account, we sign out your current session and sign in a user with limited access instead.
Alternatively, you can launch a kiosk by navigating to its secure URL. Copy the URL to your clipboard by accessing the More actions menu next to the Launch button and clicking Copy Launch URL. Share the copied URL however you like.
Checkout Assets
Once your kiosk is launched, your customers, clients or employees can use it to checkout assets. To start, they will click or tap the big Checkout button on the kiosk’s main screen.
Next, they can scan or search to find themselves (i.e., their Person record) and the assets they want to check out. Best of all, this screen supports external USB and Bluetooth readers in addition to the built-in camera scanner. That means you can have employees scan their badges and then the assets they want to check out for an extremely efficient workflow.
To support scanning for people, make sure to add a Person field to your database where you can store badge IDs. For example, you could add a Text field called Badge ID and then enter or import all your employee badge ID numbers into it. The scanner will know how to search this field automatically.
Check In Assets
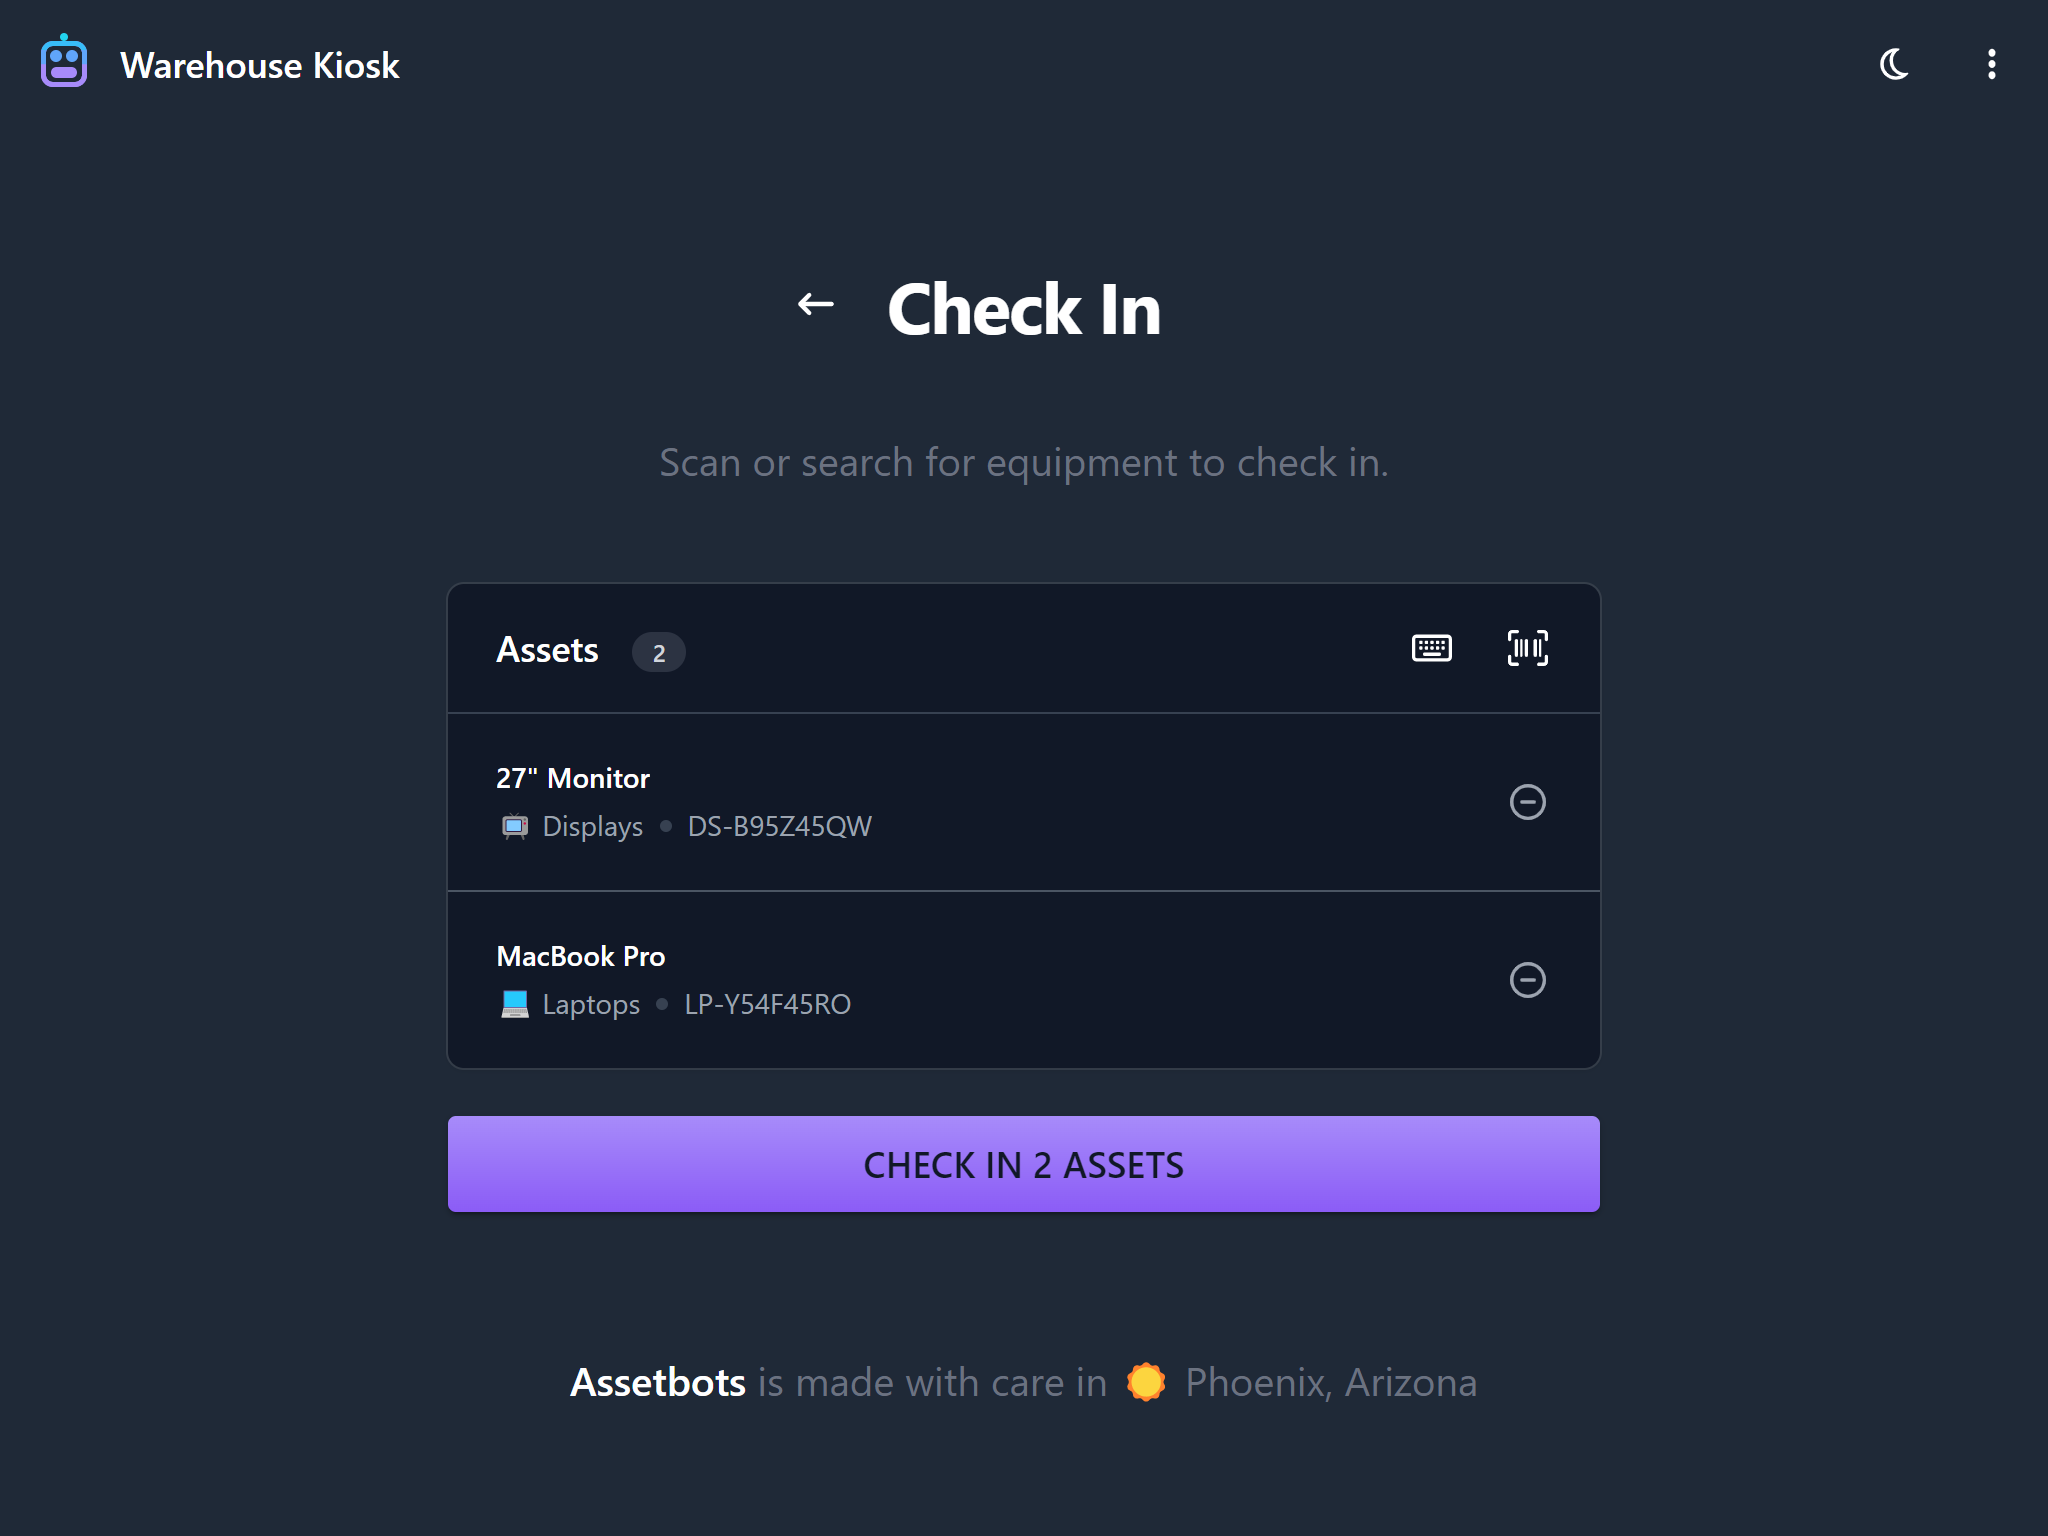
Checking in assets is even easier than checking them out. To start, click or tap the big Check In button on the kiosk’s main screen. Next, scan or search for the assets that need to be checked in.
Assetbots knows how to close or partially close checkouts for each asset scanned or entered, so users can scan anything they have checked out. Once all of their assets are added, click or tap the Check In Assets button at the bottom of the screen to complete the check-in.

Get Help and Support
Kiosks are a great way to enable your customers, clients and employees to check-in and checkout assets while maintaining a comprehensive audit trail. We’re just getting started on our self-serve capabilities, so keep an eye out for Reservations, which are coming soon.
In the meantime, if you have a question or need help with kiosks (or any part of Assetbots!), please open a ticket within your account.
Happy tracking!